It is hot. Hotter than Hades around here. I believe it got up to 107 yesterday. So hot, in fact, that my local hometown newspaper ran an article in which some of my townspeople, I'm ashamed to admit, explain that they have found it necessary to carry water bottles... and (oh! The horror!) rent a movie instead of heading out to the park. My hometown newspaper is fabulous for great tidbits like these.
At any rate, if there is one thing I am not so interested in when it's ridiculously hot out, it's cooking.
I thought that sandwiches would be a fabulous dinner, but I wanted to make them a tad more special than the usual PB&J that makes its way to school in the lunchbox every day.
Veggie sandwiches were the order of the day... and I did end up cooking a little bit. I roasted the peppers, so the broiler was on. But only for about 10 minutes, so that doesn't count. And I did bake the focaccia, but that was early in the morning, so that doesn't count either.
I love love love roasted red bell peppers, and here is how I do them (they work great on the grill as well, but it was to hot to go outside and stand near the grill, so I did them in the oven this time).
Turn on the broiler, and scrub the peppers clean.
Place the whole, uncut pepper straight onto the oven rack, near the broiling element. (If you place a baking sheet on a lower rack, it catches the dripping pepper juices, which will make cleaning up much easier). Turn the peppers every couple of minutes with a pair of tongs. You want the pepper to get as black and blistery as possible all over. It will take a total of about 10 minutes.
After the pepper is blackened, take it out of the oven and place it into a plastic or paper bag, and close up the bag. Wait a few minutes while it gets all sweaty and steamy. When you take it out, the skin should peel right off the pepper, leaving you with a delicious roasted, skinless bell pepper. Cut it up, removing the seeds, stem, and ribs. For sandwiches, I leave it in pretty big planks.
Once you have your bread and your roasted peppers, it's just a matter of stacking up a sandwich and enjoying the life of Riley. Especially if you lived the life of Cinderella earlier this summer and made some pesto and some pickles that you can grab.
Mine had lettuce, tomato, bread and butter pickles, sharp cheese, roasted peppers, and pesto.
Mmmmmm.
Showing posts with label bell peppers. Show all posts
Monday, August 29, 2011
Roast Red Peppers Sandwiches on Focaccia
Posted by
Susan
at
7:30 AM
Roast Red Peppers Sandwiches on Focaccia
2011-08-29T07:30:00-07:00
Susan
basil|bell peppers|lettuce|main dish|meatless monday|tomato|
Comments


Labels:
basil,
bell peppers,
lettuce,
main dish,
meatless monday,
tomato
Wednesday, August 24, 2011
Roast Vegetable and Hummus Tart
Such was the case when I saw a picture of this tart on Pinterest. It involves several different species currently living in the biosphere that is my crisper drawer. And that was good enough for me.
As it turns out, though, this baby is delicious! I plan to make it many more times... and it can be adapted to use whatever vegetables are in season, so I imagine it will become a semi-regular part of the rotation around here. Plus, it is meatless, so it can be a part of the Monday routine. Although I served it as a main course, it is presented cut into smaller pieces and served as an appetizer. Look out Book Club... it's coming your way soon!
Without any further ado, I present to you Roasted Vegetable and Hummus Tart.
Thanks to Soma at eCurry. You have no idea how much this recipe means to me.
The recipe that Soma has on her blog allows for making the crust, the hummus, and the veggie topping separately and then combining them. I happened to have some hummus on hand already, so I used pre-made hummus. If you want this hummus recipe, head on over and check it out. It's not hard at all, although it requires some ingredients you may not have around (chickpeas, tahini).
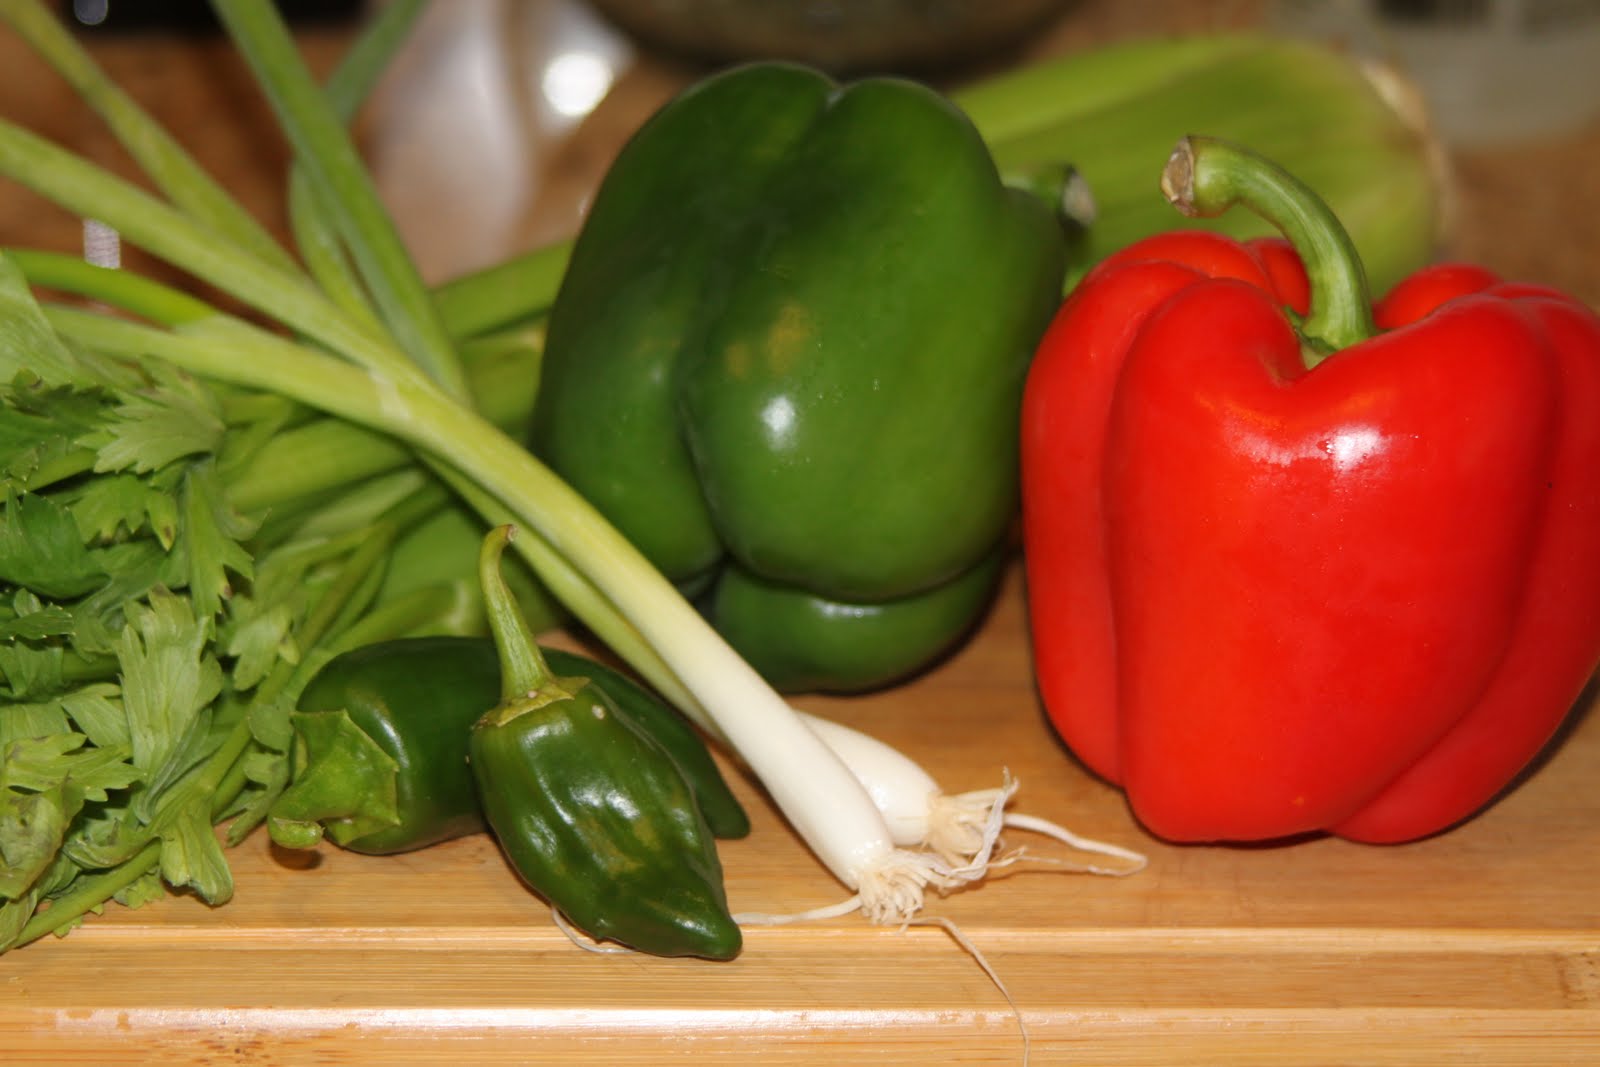
I used her recipe for the crust (so delicious! And flaky! And without any butter!) She uses somewhat odd and very precise amounts of ingredients for the crust, but don't doubt her. She clearly knows what she is doing. She topped her tart with onions, zucchini, eggplant and tomatoes. I (of course) used the veggies that came in my box this week... summer squash, bell pepper, tomatoes, and potatoes.
To make the Crust:
2 cups all-purpose flour
1/3 cup + 2 1/2 tablespoons olive oil
1/4 cup + 1 1/2 tablespoons very cold club soda
1 teaspoon salt
freshly ground black pepper
optional -- any herbs you like. I added some fresh thyme, since that was in my box this week
The trick is to handle this crust as little as possible. It isn't hard at all, so handling it very little is easy to do.
In a bowl, combine flour, salt, pepper and herbs. In a separate bowl, whisk together the olive oil and club soda for a couple of minutes, until it is almost creamy-looking.
Pour water-oil mixture into the flour mixture, and combine with a fork just until there is no dry flour left. Using your hands, form the dough into a ball.
Divide the dough into two pieces and roll each one separately. Place the dough between two pieces of parchment paper, and roll in only one direction (not back and forth). I rolled mine into rectangles like Soma did, by rolling out a more or less rectangular shape and cutting the edges. I was tempted to leave it as a sort of loose oval, because it looked rustic and charming. You can make it whatever shape you like.
Remove the top parchment paper, cut the edges if you wish, and pierce with a fork.
Bake the crusts on the parchment paper at 400 degrees, for about 12 minutes, or until golden.
To prepare the veggies:
Again, use whatever vegetables you prefer, or whatever you happen to have around.
2 summer squash, sliced into rounds
2 tomatoes, sliced
2 potatoes, sliced
2 red bell peppers, sliced
2 cloves of garlic, minced
salt and pepper
olive oil
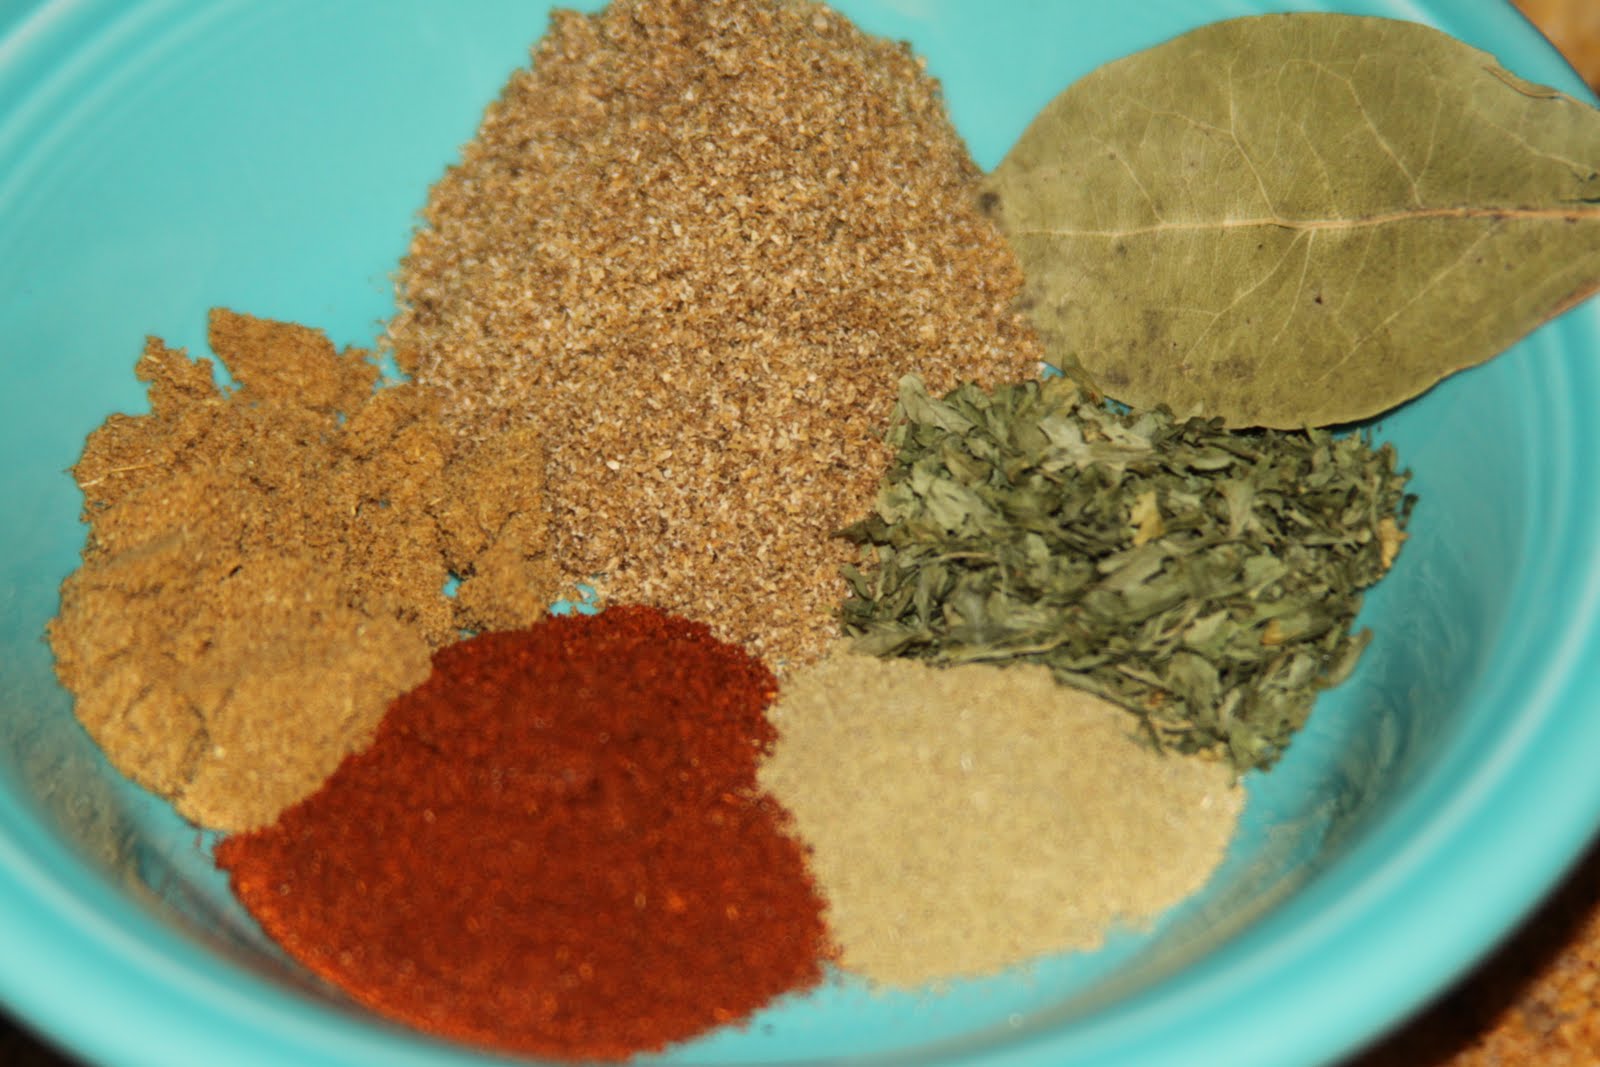
herbs, to taste (again, I used the thyme from my box, plus some sage and rosemary)
Lay all of the vegetable slices out on parchment paper. Combine the oil with the herbs and salt and pepper. Drizzle over the vegetables.
Roast at 350 for about 30 minutes, or until the vegetables are soft. Turn once, about halfway through.
To Assemble the Tart:
2 tart crusts
1/2-1 cup of hummus
roasted vegetables
sea salt
olive oil
Let the crusts cool after baking. Spread 1/4-1/2 cup of hummus on each one. Layer the vegetables on top. Sprinkle with salt and drizzle with olive oil. Bake at 350 for about 15 minutes, to warm it all up.
Posted by
Susan
at
9:36 AM
Roast Vegetable and Hummus Tart
2011-08-24T09:36:00-07:00
Susan
bell peppers|garlic|potatoes|thyme|tomato|yellow squash|
Comments


Labels:
bell peppers,
garlic,
potatoes,
thyme,
tomato,
yellow squash
Thursday, June 23, 2011
What's black and white and red all over?
Black and white bean chili, of course!
Although it has been about a million degrees here this week, for some reason my husband requested vegetarian chili for dinner.
So, being the fabulous wife I am, I hopped to it. To be fair, he didn't so much request is as answer my plea for someone else to please just decide what we should eat all week forgoodnesssake.
Come along with me as I take this pile of fresh summer vegetables and turn it into a delicious pot of chili.
Saute these in about a tablespoon of olive oil for a few minutes, then add the spices:
1 teaspoon cumin
2 teaspoons coriander
1 teaspoon paprika
1 teaspoon dried basil
1/2 teaspoon thyme
1 bay leaf
Continue to cook these together for another minute, and then remove from heat.
Drain and rinse a can of black beans and a can of white (navy) beans, reserving the water from the white beans.
p.s. We went cherry picking this morning and came home with scads of cherries. Cherry week is a-comin'!
Although it has been about a million degrees here this week, for some reason my husband requested vegetarian chili for dinner.
So, being the fabulous wife I am, I hopped to it. To be fair, he didn't so much request is as answer my plea for someone else to please just decide what we should eat all week forgoodnesssake.
Come along with me as I take this pile of fresh summer vegetables and turn it into a delicious pot of chili.
This chili contains quinoa, which makes it more filling (and adds all of the healthiness you could ever ask for), as well as two kinds of beans and the veggies. I recommend doubling the recipe... leftovers are almost better than the first round, and it will freeze very well. So you can... you know. Save it. For a rainy day, when the weather actually lends itself to curling up with a nice warm bowl of comfort food.
It cooks all day in a slow cooker, so you really can make it in the summer without slaving over the stove or heating the house too much.
First, mince 2 jalapenos as tiny as you can, and chop up two green onions, half a red onion, half a red bell pepper, half a green bell pepper, and a stalk of celery.
1 teaspoon cumin
2 teaspoons coriander
1 teaspoon paprika
1 teaspoon dried basil
1/2 teaspoon thyme
1 bay leaf
Continue to cook these together for another minute, and then remove from heat.
Drain and rinse a can of black beans and a can of white (navy) beans, reserving the water from the white beans.
Add enough water to the bean water to make 3 3/4 cups total.
Put the beans, the veggies, the water, 1 cup of tomato paste, and 1/2 cup uncooked quinoa into the crockpot. Cover and cook on low for 6-7 hours.
Just before serving, add 1 tablespoon soy sauce and 1 tablespoon molasses and mix completely.
Serve with shredded cheese and sour cream.
p.s. We went cherry picking this morning and came home with scads of cherries. Cherry week is a-comin'!
Posted by
Susan
at
3:56 PM
What's black and white and red all over?
2011-06-23T15:56:00-07:00
Susan
bell peppers|celery|green onion|jalapeno|onion|quinoa|
Comments


Labels:
bell peppers,
celery,
green onion,
jalapeno,
onion,
quinoa
Monday, May 23, 2011
On my honor, I will serve mankind
Every summer, my husband and I load up the car with almost everything we own a travel-sized version of almost everything we own, to spend 9 days or so in the wilderness a campground. I truly am not exaggerating... our home away from home is a tent, our beds are air mattresses, and our dressers are suitcases. In lieu of a range, refrigerator, and kitchen sink, we have a stove, a dutch oven, ice chests, and dish pans.
It is roughing it without really giving up anything... just making the stuff all small enough to fit inside a car, and doing everything outside. Ideal, really. If there weren't these pesky things called a job for the adults around here and an education for the little guys, I might sell the house and camp year round. In that one place where it is summer year round.
While we are there, I spend the days relaxing, eating, tanning, swimming in the creek, eating, reading, hiking, eating, and drinking. In order for all that eating to occur I do spend a wee bit of time cooking. But in order for all that relaxing to occur, I try to make cooking pretty simple.
One of our favorite meals comes from way back when my oldest brother was a boy scout, and it's called a foil dinner. Basically, you wrap some meat and potatoes up in foil and nestle it down in the coals of the campfire until it's cooked through.
The other day I decided we didn't need to be camping to enjoy foil dinners. We went ahead and did them in the kitchen, and popped them in the oven. Although we weren't following up a day of hiking and swimming, or eating in the great outdoors, they tasted pretty darn good.
Tradtional Boy Scout Foil Dinner in a non-traditional setting:
First, you need to chop up your veggies into bite-sized pieces. The usual suspects would be potatoes, celery, carrots and onion. However, you can use whatever you have on hand. I, of course, used those veggies that came in the box this week.
zucchini, corn, bell pepper fava beans, potatoes, leeks (to prep the fava beans for cooking, read this) |
Next, let each diner select his or her vegetables. They should be piled on top of the ground beef willy-nilly. Then sprinkle it with salt and pepper.
Now, fold each dinner into a packet. This should be done carefully if you are going to be putting them into a campfire, so that you don't end up eating ashes.
As you finish preparing each packet, be sure to have the diner write his or her name of the outside of it, so everyone gets the exact veggie combination they created. Or in the case of our family, I draw pictures of everyone. The kids love it.
May I present to you, my lovely family:
So sorry the pictures look so bad. It turns out it is a little hard to photograph something that is wrinkly and reflective.
It's a good thing we all have distinctly different hair in my family. I am a terrible artist, so the faces look identical.
Once you have marked the packets in a way that will differentiate them from one another, it is time to let it all cook. If you have a good set of coals in your campfire, place the packet in them for about 30 minutes or so, depending on how much meat you use, the heat of your coals, and the air temperature. Feel free to check on them if you need to, as long as you wrap them back up again. If you are doing it in an oven like we did this week, heat the oven to 400 and cook them about 25-30 minutes on a baking sheet.
Here is the magic of it all. No matter which vegetables you use, no matter what the ratio of veggie to meat is, no matter whether you eat it with 40 boys scouts or your own family, no matter whether you are in the dining room or a campsite, it turns out absolutely delicious. Every time.
Posted by
Susan
at
1:12 PM
On my honor, I will serve mankind
2011-05-23T13:12:00-07:00
Susan
bell peppers|corn|fava beans|leeks|main dish|potatoes|zucchini|
Comments


Labels:
bell peppers,
corn,
fava beans,
leeks,
main dish,
potatoes,
zucchini
Subscribe to:
Posts (Atom)